Learning how to use an espresso machine is a relatively easy process. And you don’t have to be a barista to do so. Even if you have never used it, you can do it without any hassle.
I remember pulling my first espresso shot. That was almost 20 years ago. I was a newbie who never touched a machine like this before.
It was easy… Flush the machine, grind the coffee, tamp it nice and even, lock in the portafilter, and start brewing…
But to my surprise, the shot came out all watery and tasteless. So I repeated the process. And then again, and again, and again!
Here I am today, a few 1000s of shots behind me and my espresso is finally perfect.
Don’t worry if you’re a beginner – in this blog post, I’ll take it to step by step so that anyone can make a perfect espresso using an espresso machine with ease.
How to Use an Espresso Machine to Pull a Perfect Shot
You don’t have to spend years perfecting your espresso shot.
Instead, I have prepared this step-by-step guide that covers everything from finding a perfect grind size (critical) to learning how to tamp the powder so that the pressure spreads nicely and evenly through the portafilter while extracting the perfect espresso.
So without any further ado, grab your espresso machine and finally learn how to use it to pull a perfect shot.
Step 1: Prepare Your Espresso Machine
Preparing an espresso machine for use requires several steps to ensure a good cup of espresso. First, you must fill the water tank with fresh water.

Next, turn on the espresso machine to preheat it and allow it to run for approximately 15 minutes before pulling any shots. This will ensure that all components are heated properly for optimal extraction.
During this time, it is important to clean any filters or screens in order to prevent the buildup of oils and particles that can affect flavour. You can easily do that by pulling a blank shot.
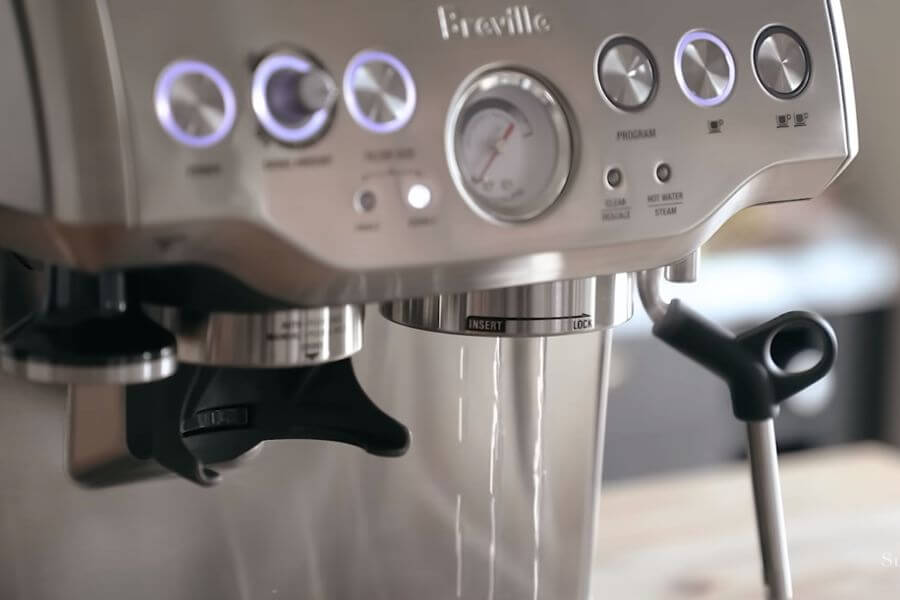
This means setting everything up without coffee powder and letting the water go through the system first. You may have seen pro baristas doing this before every single shot the pull, so you know it is a great idea.
By the way, if you don’t own a machine yet, but you would like to, here is a step-by-step guide on how to choose an espresso machine.
Step 2: Grind the Coffee Beans into Powder
Grinding coffee beans is a crucial step in the process of making espresso. Coffee beans are first roasted and then ground into a fine powder to allow for optimal extraction during the brewing process.
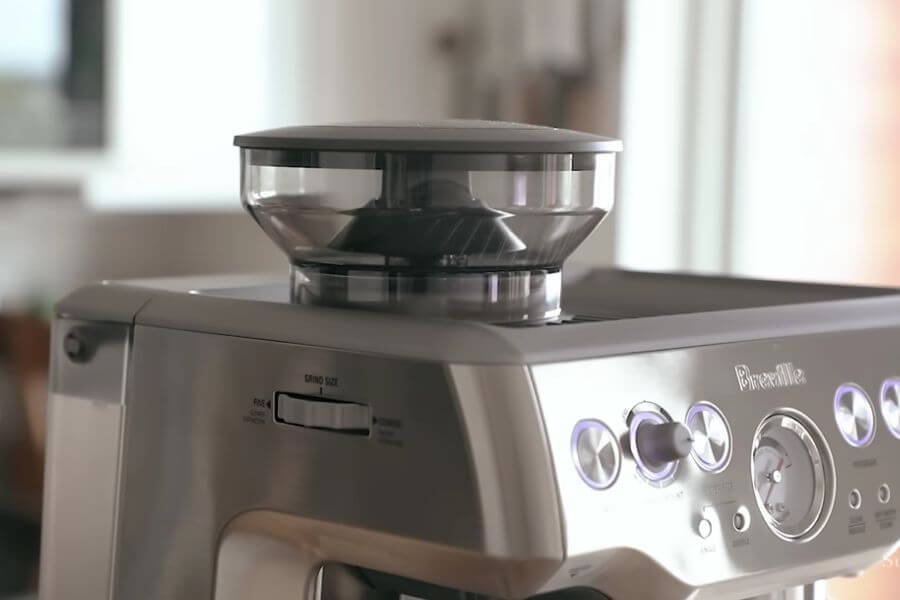
When grinding beans for espresso, it’s important to get a uniform grind size that is finer than what you would use for other methods such as pour-over or French press.
A fine grind will maximize flavour extraction and create a smooth texture.
The ideal particle size for espresso should have particles between 200-400 microns in diameter; too coarse and the espresso won’t be properly extracted, while too fine can cause over-extraction and bitterness.

For best results, grind your beans just before brewing. Pre-ground coffee has already oxidized and lost its aroma and flavour, so grinding immediately before brewing will ensure maximum freshness and flavour.
Additionally, store your beans in an airtight container at room temperature away from sunlight or heat sources to help keep them fresh longer.
Once you have freshly ground coffee powder, it’s time for the next step.
Step 3: Tamp Your Coffee Powder
Tamping coffee is a vital step in the process of making quality espresso using a machine.
When done correctly, tamping helps to create an even distribution of coffee grinds that can result in a consistent extraction of espresso.
It is important to tamp the coffee properly because it can affect the taste and consistency of the espresso.
In order for the tamping process to be successful, you need to consider a few things.
First, it is essential to have the right size and shape of tamper for your particular espresso machine. The tamper should fit snuggly on top of the portafilter basket, allowing enough pressure to compress the grounds without causing damage.
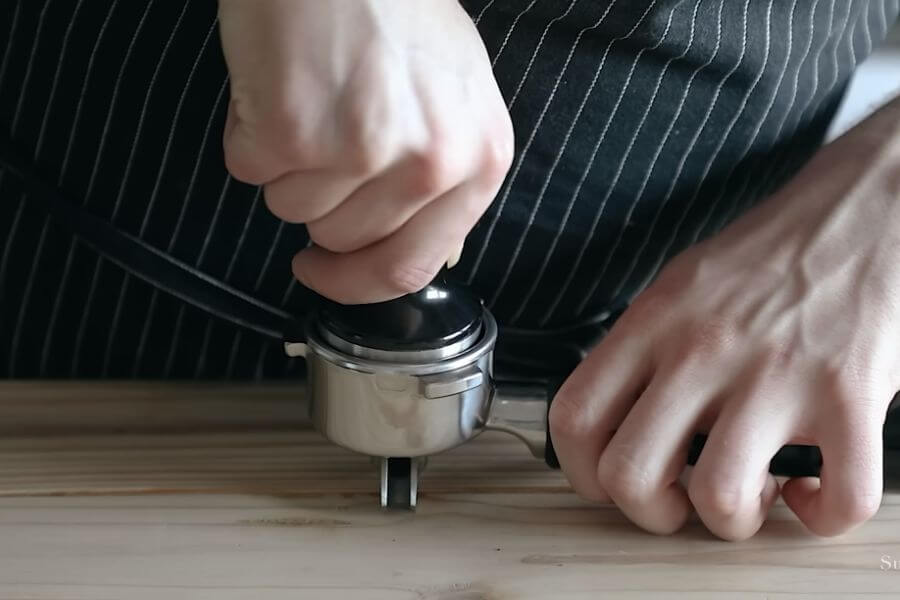
Second, it is important to use an even amount of pressure when tamping. Too much or too little pressure can negatively impact extraction or cause overflow during brewing.
Last but not least, it is important to use freshly ground beans and ensure that they are distributed evenly throughout the portafilter basket before tamping begins.
When done correctly, tamping coffee grinds should take 10-15 seconds and reach a level surface with no clumps or pockets.
Before beginning, make sure your hands are clean and free from any oils or moisture which may interfere with the extraction process.
Here is a step-by-step for perfect tamping.
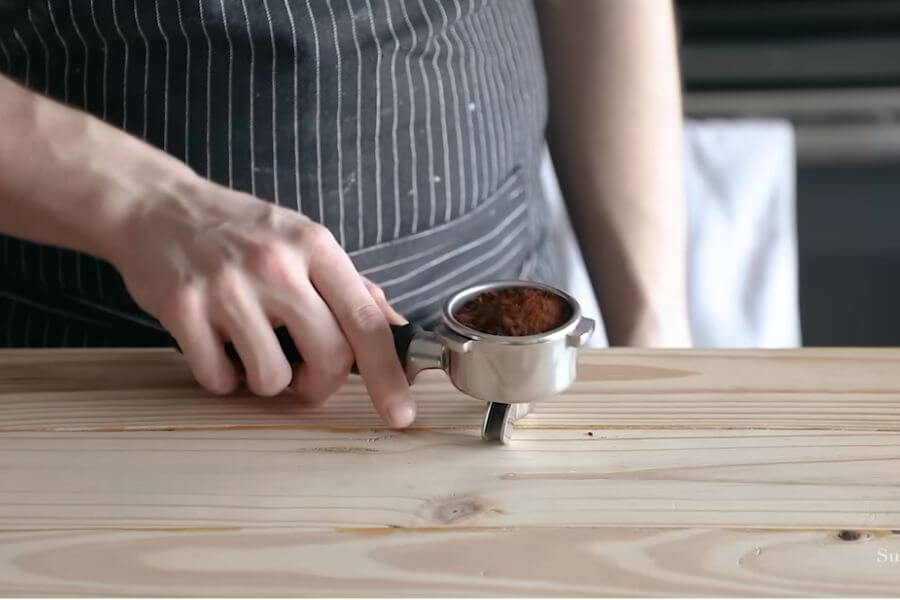
To begin, make sure you have a good quality tamper with a flat base. Place your coffee grounds in the portafilter and shake them slightly to even out the surface.
Using your tamper, apply pressure to compress the grounds into an even bed, starting from one side and gradually moving toward the other in circular motions.
Pro tip: Place your thumb against one side of the portafilter basket while you place two fingers against the other side as leverage for even distribution of pressure across all sides of the basket.
When you are done, you should have compressed the grounds into an even surface with no air bubbles or large gaps in between them.

When tamping coffee powder for making espresso, accuracy is key – too much or too little can ruin your brew entirely.
It’s important to start off slow by applying light pressure at first and then gradually increase until you achieve proper compression of the grounds.
This process may take some practice but once mastered will result in perfectly brewed espresso shots every time!
Step 4: Start Brewing Your Espresso Shot
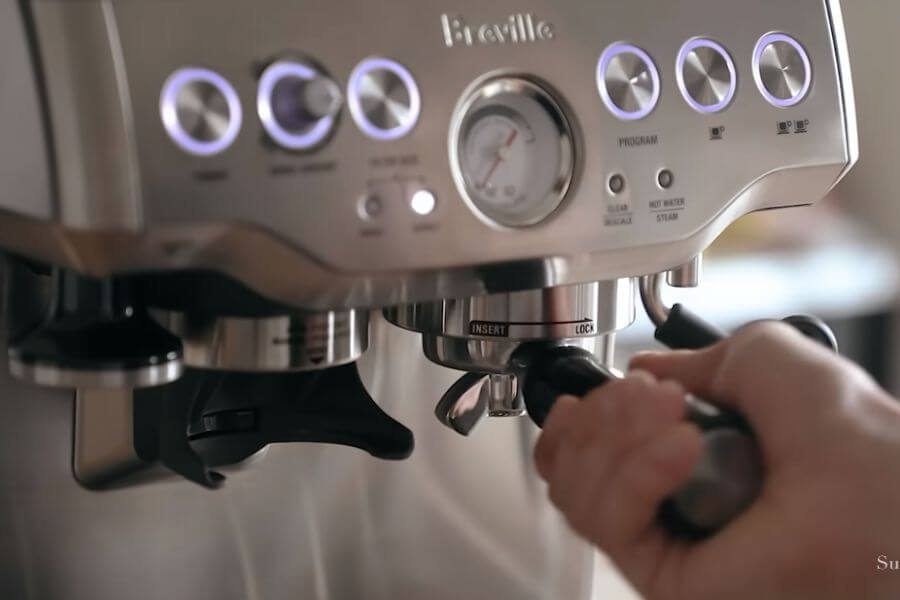
The brewing process begins by placing the portafilter, which contains the ground espresso, into the espresso machine.
Make sure that it is securely attached so that all of the water pressure is evenly distributed throughout the portafilter and onto the grounds.
Once this is done, it’s time to brew! Depending on the type of espresso machine you have (manual or automatic), this will vary slightly in terms of time and steps required to brew.
Generally speaking, however, an espresso shot should be finished extracting within 25 seconds – any longer than that means it is over-extracted, resulting in a bitter-tasting coffee.
On the other hand, if it takes less than 17 seconds then it may be under-extracted, resulting in sour-tasting coffee.
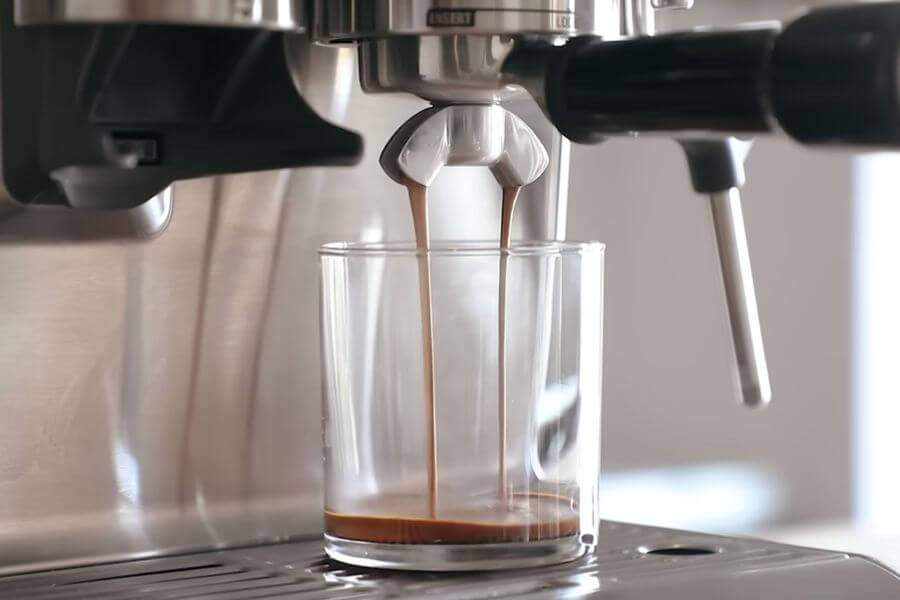
To ensure your espresso shot has been properly extracted, you should look for a few things: golden brown crema on top which indicates proper extraction; smooth texture (no chunks) when stirring; balanced aromas; and a sweet aftertaste that lingers on your tongue.
But what if your shot didn’t come out as perfect as I described it? It means that your espresso settings need to be dialled in (grind size, tamping, etc) in order to get a perfect shot.
Don’t worry. I’ve done it a ton of times before.
Step 5: Dial in the Espresso Shot
Dialling is a term that refers to the act of calibrating your espresso machine, grinder, tamping pressure, or everything from the above to produce a particular flavour of espresso (as described earlier).
Unfortunately, you can hardly ever be sure what part of the process needs to be corrected. Luckily, there are a few tricks that I learn that could help you.
If your espresso tastes too sour, then the grind size is likely too coarse and needs to be made finer.

An overly bitter taste in your espresso can be indicative of an over-extraction issue, which can be rectified by selecting a coarser grind size as this will result in a less concentrated shot.
Conversely, a finer grind size will ensure a more balanced extraction and produce richer flavours in comparison to the sharper over-extracted coffee.
For a perfect espresso, grind the beans for approximately 15-19 seconds. Choose the fine or super-fine grind size and adjust your grinder to this setting.
Next up, brewing temperature.
The ideal brew temperature for a single shot is between 195°F and 205°F; however, multiple factors can affect this such as water hardness, altitude, etc.
It’s important to experiment with different settings until you find what works best for you.
As far as brew time goes, most machines come with preset options such as 25 or 30 seconds; however, these may need adjusting based on how well you’ve calibrated your machine.
If your extraction isn’t quite up to par yet or you’re getting bitter flavours instead of sweet ones, go back and adjust your grind size or tamp pressure before trying again.
(Optional Step): Forth the Milk
If you are learning how to use an espresso machine to make espresso-based drinks, then you need to learn how to froth the milk as well.
First, begin with cold milk that has been pasteurized and homogenized. Cold milk will help to produce more volume than warm milk, so make sure to use it in your recipe.
Pour the cold milk into a metal or glass cup or pitcher that should be no larger than half full.
Then, insert a steam wand or frothing tool into the liquid and turn the machine on – make sure to avoid any bubbling or boiling of the milk by maintaining a gentle flow.
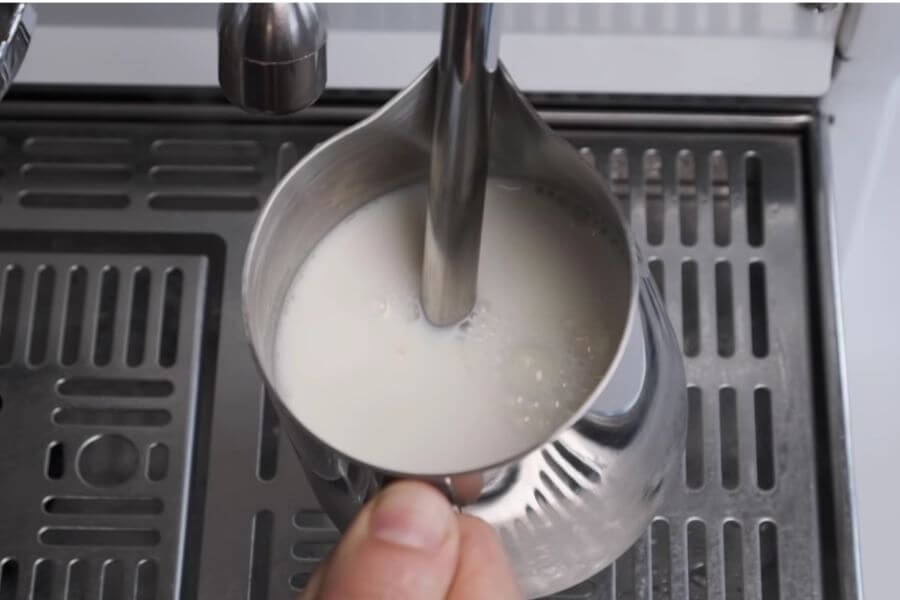
As air is incorporated into the liquid, it will begin to form bubbles and rise in volume.
When this occurs, move the steam wand up and down through the liquid slightly while continuing to hold it submerged under its surface.
Doing this will help break any large bubbles that may have formed while mixing in additional air with increased consistency and better results overall.
When you’ve reached your desired level of foaminess (this process usually takes about 30-60 seconds), remove the steam wand from the pitcher and quickly place a lid on top of it.
This helps trap air bubbles inside the foam for greater stability.
Once the milk is ready, simply start pouring it into your cup with espresso. And don’t be afraid to experiment with latte art too!
How to Use an Espresso Machine FAQs

Can I use pre-ground coffee for an espresso instead of grinding my own beans?
Although it is possible to use pre-ground coffee for espresso, it is generally not recommended. Grinding your own coffee beans helps to ensure that the coffee you are using is as fresh as possible – a key factor in creating a great-tasting espresso.
How much coffee should I use for one shot of espresso?
In order to make one shot of espresso, you should use 7-9 grams of ground coffee. This amount can vary depending on the strength and flavour profile you are aiming for, but it is generally accepted that 7-9 grams are the best range for a standard single shot.
How much water should I use for one shot of espresso?
To prepare one shot of espresso, you should use approximately 1-2 ounces of water. This amount may vary based on the size of your portafilter basket and the type of coffee used.
Can I use regular tap water in my espresso machine?
It is generally not recommended to use regular tap water in an espresso machine as the minerals present in the water can cause a buildup of deposits that could potentially clog the machine.
Additionally, tap water usually contains chlorine, which can affect the flavour of your espresso. If you choose to use tap water, it is best to allow it to sit for at least 24 hours before using it in your espresso machine.
How do I know when the espresso shot is done brewing?
You can know when the espresso shot is done brewing by looking for the golden crema on the surface of the espresso. This should appear after 25 seconds to around a minute after you begin pulling the shot.
During this time, you should also be able to hear a hissing noise coming from the portafilter. Once these two indicators are present, your espresso shot is ready and can be poured into a cup or glass.
How often should I clean my espresso machine?
When it comes to cleaning your espresso machine, the frequency of cleaning will depend on how often you use it. Generally speaking, if you’re using your machine on a daily basis, you should deep clean your espresso machine every 3-4 weeks.
Why is my espresso shot pouring too fast/slowly?
If your espresso shot is pouring too quickly, it may mean that it was ground too coarsely, which can result in water moving through the grounds quicker than desired.
On the other hand, if your espresso shot is pouring too slowly, it could indicate that the grind was too fine and created a higher level of resistance for water to flow through.
Can I reuse the coffee grounds for a second shot?
Don’t do it but, yes, it is possible to reuse coffee grounds for a second shot of espresso. However, this is not recommended if you’re looking for a quality cup of espresso as the flavour and strength will be greatly reduced. Always use fresh grounds.
So, Now You Know How to Use Espresso Machine
Congratulations! Now that you understand how to use an espresso machine, perfecting your favourite drinks will quickly become as easy as ABC.
Just remember: practice makes perfect! Keep experimenting with different types of beans, grinds and brewing techniques until you reach the flavour intensity you desire.
Who knows – your next masterpiece could be the best cup of coffee you ever had!
By the way, if you are an espresso beginner and you don’t own a machine yet, but you would like to, check out our best espresso machines for beginners.
What To Do Next?
I hope you enjoyed this post about the proper ways to use your espresso machine. I know have enjoyed preparing it for you.
Do you have any more questions about the topic? Let me know in the comments below!
Interested in learning more about espresso? My team and I invite you down to the rabbit hole. Check out our top espresso guides and keep on learning!